Course settings

Course settings

After creating your course, Zooza will automatically take you to the Course Overview page. Here, you can add classes, adjust settings, and review your course’s details.

Course overview

New course

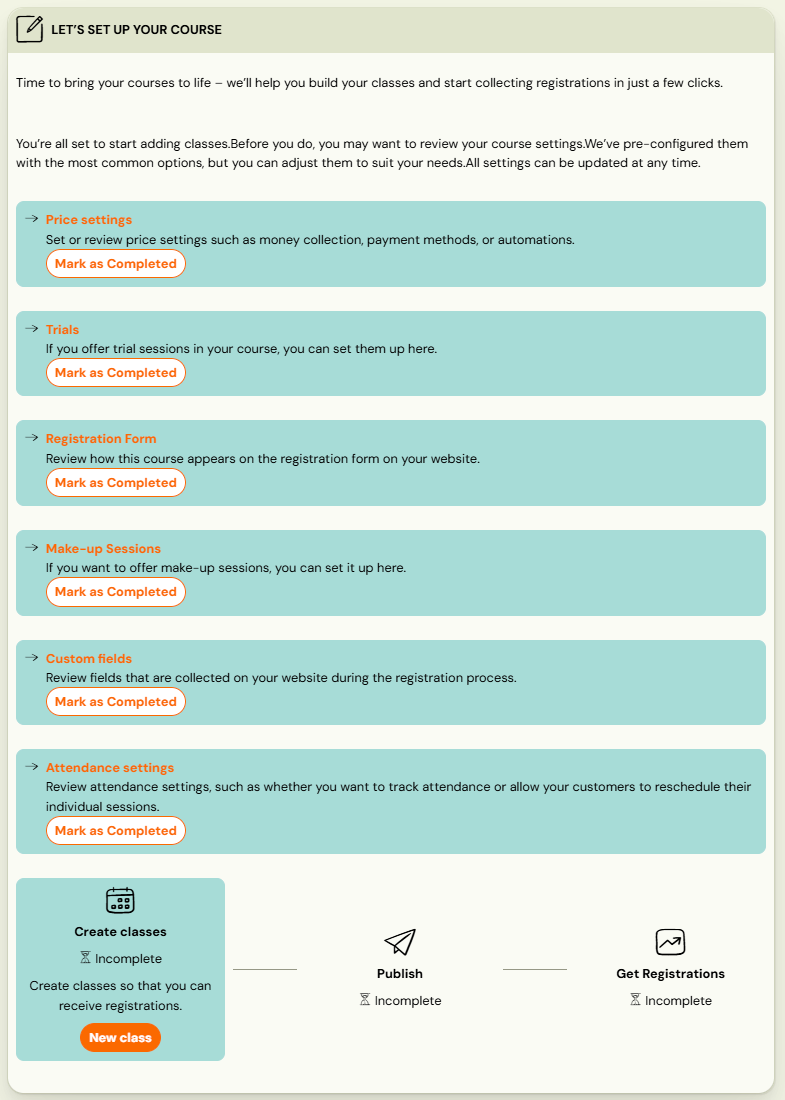
If you’ve just created a blank course, the overview page will display a setup checklist designed to guide you through each step. You can follow the checklist in order, marking each item as completed as you go. This ensures nothing is missed before your course goes live. Each setting has its own documentation about how to proceed.
Course with classes

If your course already has ongoing or completed classes, the overview page will show a Performance overview along with a list of all active and finished classes. At the top of the page, you’ll find quick access to:
  1. Edit settings
  2. Create a new class
  3. Copy course
Selecting Edit Settings  the course detail page will open, where multiple settings are grouped into tiles for easy navigation.

Course Settings

Each registration type has a different bundle of settings divided into tiles that can be modified.
  1. Price and Payment
  2. Online Registration
  3. Make-up Sessions (full duration courses only)
  4. Course Settings
  5. Additional Fields
  6. Trial (full duration courses only)
  7. Auto-Enrollment (full duration courses only)
  8. Feedback
  9. Attendance
  10. Class linking (open courses only)
You can edit each section by clicking its Edit button.


Price and payment

This setting is set when creating the course, but you can update the unit price or registration fee later if needed.
  1. For guidance on correctly setting pricesrefer to the Pricing Setup manual.
  2. For help configuring payment reminders, see the Payment Reminders Guide.

Online registration

To configure how the course will appear on your website and how communication with clients will be handled, use the Online Registration tile. A detailed explanation of each feature is available in the Online Registration manual.

Make-up sessions

If attendance recording is enabled, you can also set up make-up sessions for missed classes. Full guidance on configuring make-up sessions is available in this manual.
AlertNote: This function is available for full duration courses only.

Course settings

This setting is set when creating the course, but you can change it anytime and add more information about the course. All information is available here.

Additional fields

At the course level, you can add Additional Fields to the registration form to collect additional information from participants, such as age, allergies, or skill level. For detailed instructions on creating and managing extra fields, see the Additional Fields manual.

Trial

In the Trial tile, you can set up a menu of trial sessions that clients without a long-term commitment can sign up for. You can read how to set up trial sessions here.

Auto-enrollment

Auto-enrollment is a pro feature designed to make re-enrollment easier and more efficient for your existing clients. It allows you to offer them a new course before their current one ends, giving them priority access and a streamlined sign-up process. Detailed instructions on setting up and using auto-enrollment can be found in the Auto-enrollment manual.

AlertNote: This function is available for full duration courses only.

Feedback

In the Course Feedback section, you can choose if and when the system should automatically send clients a form inviting them to evaluate your course.

Attendance

In some courses — including one-session events such as camps or tours — it may not be necessary to record attendance, since you expect participants to attend for the entire scheduled time. In these cases, you can disable attendance tracking in the Attendance tile. By default, this function is enabled by the system.

Alert
Note that when attendance tracking is turned off, make-up sessions cannot be offered. For a full explanation of how this feature works in all scenarios, see the Attendance manual.

Class linking

Zooza offers a possibility to link multiple classes together which will enable clients to enroll to one class (e.g. based on age restriction, level,...) and then enroll to sessions from other classes. Detailed definition of this functionality can be found here.

AlertNote: This function is available for open courses only.

    • Related Articles

    • Course settings tile

      Course settings are pre-filled when you create the course, but you can adjust them at any time. The settings are organised into several sections: Basic information Additional settings Labels and colours Gallery Basic information In this section, you ...
    • Course creation

      Before your clients can sign up, you’ll need to create a menu of courses in the application. If you’re not sure what types of courses you can create, check the Course Types documentation. In order to create a new course, follow these steps: Open the ...
    • Course, group, lesson definition

      In real life, your clients sign up for a course and then, when it starts, attend the course within the agreed schedule. The moment you have more customers in one course than you can handle, you naturally start to divide them into groups. In the app, ...
    • New course with existing clients

      When you finish old courses/groups, you have many clients who want to continue with you. That’s why you start thinking about how to create new courses and how to transfer your client database. The app allows multiple ways you can do this for them or ...
    • Class creation

      Classes are used to divide the course into time periods and can possibly be further subdivided, for example by level or by location. Classes ensure that the next time you repeat a course, you don’t have to create a new course with all its settings ...